Geotextile fabric for garden beds has a unique installation guide to maximize its function. In addition, because of specific interests, some people are wrong in the installation process. Therefore, we will help by explaining the installation guide step by step.
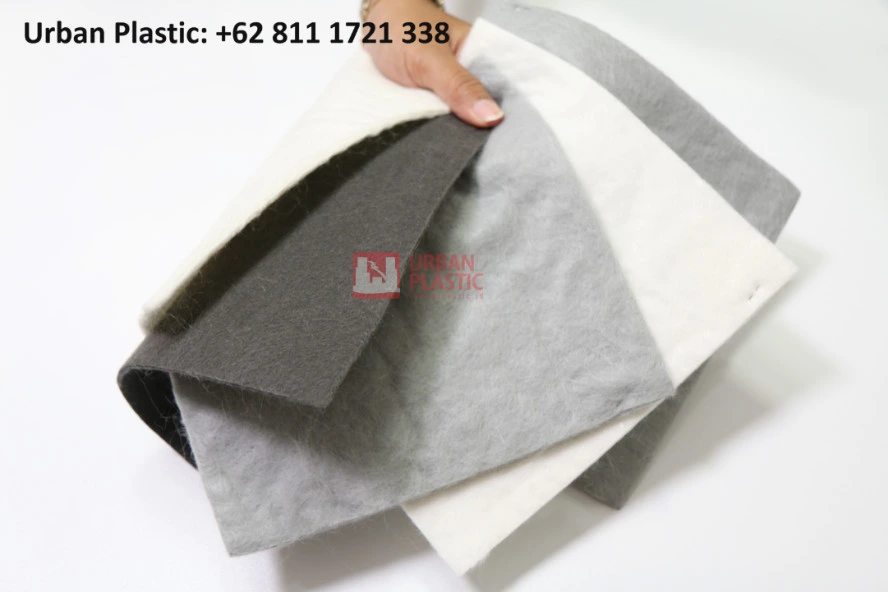
Geotextile fabrics are made from polyester, linen, polypropylene, or other recycled materials. It is often used around vegetable gardens, flower gardens, shrubs, and trees for fixing and installation.
The benefits of this type of cloth are not only for weed control but for use in the garden; this relates to limiting evaporation, protecting the soil, and controlling erosion, and it can also help the garden significantly minimize the use of herbicides.
The use of this fabric garden bed has a significant impact. It tends to stay in the ground, and when it reaches a specific part, it will pull to strengthen the soil. If you are interested, there are four types: woven, non-woven, perforated, and spun.


Step by Step of How to Install Geotextile Fabric for Garden Beds
You already know the types, and we also convey some information above. And type search is one of many things to pay attention to when installing this material. Instead of you being confused, below we will explain the installation guide step by step:
1. Measure the Garden Area
You can start first by measuring the area of the garden. It helps you to know approximately how much geotextile fabric for garden beds. But remember to measure the overlap on the right to add a few inches.
2. Pull the Weeds
Remove weeds or weeds first so that the area isn’t crowded later. Remove the weeds by hand; if there are many, you can use a hoe. If you have used herbicides before removal, wait two weeks before installing the geotextile fabric.
3. Roll out the First Piece of Geotextile fabric
And if steps 1 and 2 have been completed, the following steps are easy and will be quick. Start to roll out the first piece of geotextile fabric for garden beds. Read the instructions first to determine which other side should face up, and leave a few inches along the garden side.
4. Secure the fabric and add new plants
After the installation is complete, secure the remaining material. Save it, and you can also move it to another place. And around the material, you can add new plants. The trick is to make several small holes, usually about the size of a plant’s root ball.
5. Spread Mulch over the Fabric
Geotextile fabric for garden beds can be installed by spreading mulch over the material. This is indeed an optional option. The trick to this method is to top up gardens and flower beds with a 2-inch layer of mulch.
If you need clarification about this installation process, then the option you can take is to use direct geotextile products and service providers. BAliGEOTEX can be a solution for all of you who need clarification about the installation process.
Let’s get your garden looks fresher and spick. The trick is to install a unique fabric that makes the garden more beautiful and helps strengthen the soil quality. Geotextile fabric for garden beds is guaranteed not to damage the quality of plants.
For more information about Geotextile please contact: Whatsapp/Mobile Phone : +62 811 1721 338 (Ms. Ais), +62 811 9151 338 (Ms. Anna), or Email : [email protected].

